The Problem With Most Soil Moisture Guides
Most soil moisture guides are written by agronomists for agronomists. They start with field capacity, wilting point, available water holding capacity, and soil texture triangles. All of that is accurate and useful — if you have a lab doing soil tests on a grid and someone interpreting the results. For the grower checking a phone screen at 6 AM before starting the pump, that level of detail becomes an obstacle rather than a tool.
The practical question is simpler: what number on my soil moisture sensor means I should irrigate, and what number means I should stop? That question has a workable answer that doesn't require a soil science background. Here's how irrigators in the Columbia Basin are using FarmHQ soil probe data to make that call every day.
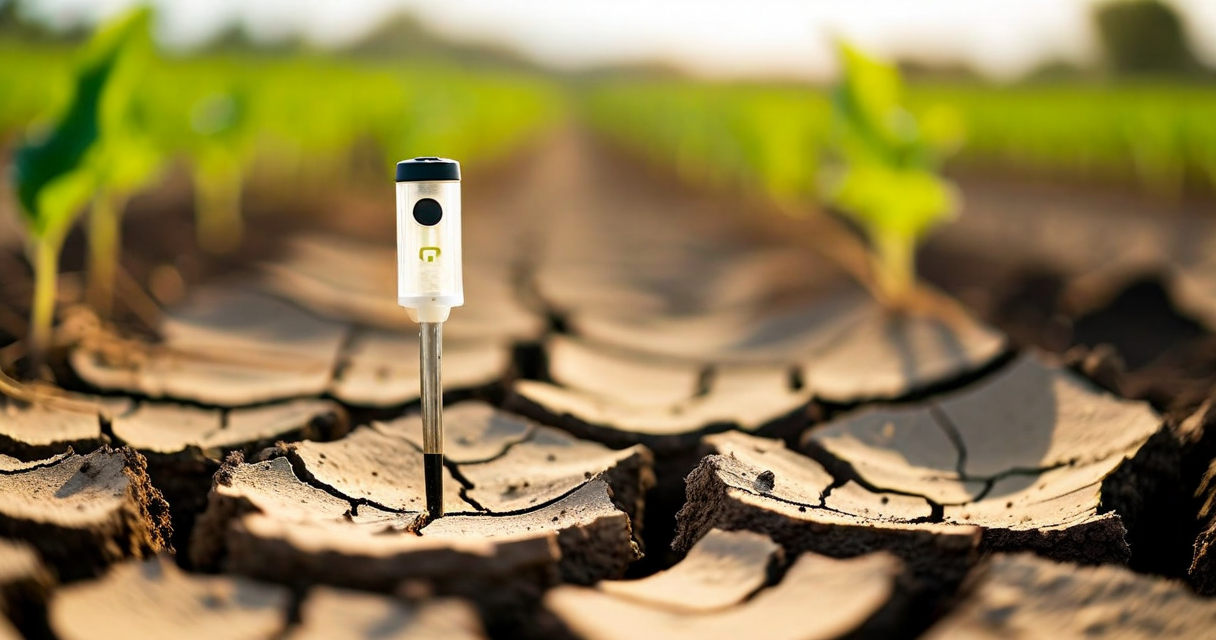
What Capacitive Soil Probes Actually Measure
The probes paired with FarmHQ modules are capacitive sensors — they measure the dielectric permittivity of the soil around the probe body. Water has a much higher dielectric constant than air or soil particles, so as water content increases, the measured permittivity increases. The sensor outputs this as a volumetric water content (VWC) reading, expressed as a percentage.
A reading of 25% VWC means that 25% of the soil volume around the probe is occupied by water. Sandy soils typically max out around 30-35% VWC at field capacity. Clay soils can hold 45-50% VWC at field capacity. Silt loam, which covers a large portion of the Columbia Basin, sits around 35-40% VWC at field capacity.
Temperature affects capacitive readings by a small amount — FarmHQ probes apply a factory calibration correction for temperature. You don't need to account for temperature manually. What you do need to account for is probe placement depth and whether the reading represents the root zone you care about.
Setting Your Target Range for Irrigation Triggers
The practical approach used by growers in the Treasure Valley (southeastern Idaho) and the Umatilla Basin (northeastern Oregon) is a two-threshold system: an upper threshold that triggers a stop, and a lower threshold that triggers a start. The exact numbers depend on your crop and soil type, but the approach works the same way regardless.
For potatoes in silt loam, a common target range is 28-35% VWC at 12-inch depth. When the reading drops below 28%, the irrigation run should start. When it rises above 35%, the run should stop. Those numbers were calibrated over one growing season by checking against visual signs of stress and yield records at harvest. Once calibrated, the sensor does the monitoring and FarmHQ's alert system triggers the action.
For tree fruit (apple, pear, cherry) in the Columbia Basin, the range is typically 22-32% VWC at 18-inch depth, with a secondary probe at 6 inches to catch rapid surface dry-down during heat events. Orchardists tend to set the lower threshold higher during fruit sizing than during other growth stages because the crop is less drought-tolerant during that window.
How to Build Your Own Target Range in One Season
If you don't have published target ranges for your crop and soil type, you can build your own in one season with a methodical approach. Start by installing the probe in representative soil — not in a low spot that stays wet or on a ridge that drains fast, but in a location that reflects your average field conditions.
Log the readings at 15-minute intervals for the first four weeks without changing your irrigation behavior. You're building a baseline that shows what your normal range looks like under your current practices. Look at the minimum VWC before each irrigation event and the maximum VWC after. Those numbers become your starting range.
Then pay attention to visual stress cues. If the crop shows wilting or leaf roll before you irrigate, your lower threshold is set too low — the probe is telling you something is still okay when the crop is already stressed. Move the lower threshold up by 2-3 percentage points and watch for improvement. Do this iteratively over the season. By the end of the first year, you'll have a target range built from your actual soil, your actual crop, and your actual field location.
What Good Data Looks Like vs. Bad Probe Placement
A properly placed probe in a well-managed field produces data that looks like a sawtooth wave: steady decline between irrigations, sharp rise when the pump runs, then steady decline again. The peaks should be consistent (you're applying similar amounts each time), and the slope of the decline should be relatively steady unless there's a hot spell that accelerates ET.
Bad probe placement produces confusing data. A probe too close to a drip emitter will spike sharply and drain quickly — it's reading the wetted bulb directly rather than the average soil moisture in the root zone. A probe in a compacted layer will read differently from the surrounding soil. A probe near a preferential flow path (an old root channel, a crack) will drain faster than the surrounding matrix.
If your data looks erratic — sharp spikes that don't match irrigation events, readings that jump by 10+ points between 15-minute samples — suspect probe contact with the soil. Poor insertion technique leaves air gaps between the sensor body and the soil, which causes the readings to bounce. Re-insert the probe using a pilot hole to prevent soil compaction against the sensor.
Multi-Depth Probes and What They Tell You
Single-depth probes answer the question "is the root zone wet or dry right now?" Multi-depth deployments — typically 6-inch, 12-inch, and 18-inch probes in the same location — answer the question "how deeply is water moving through the profile?" That's useful for two things: verifying that water is reaching the deeper root zone and detecting drainage below the root zone (which means wasted water and potential leaching of nitrogen below where the crop can access it).
If the 6-inch probe rises sharply during irrigation and the 18-inch probe stays flat, water isn't moving past the shallow root zone. That happens with irrigation rates that exceed the soil's infiltration capacity — the water is ponding or running off rather than soaking in. Slow the application rate. If the 18-inch probe keeps climbing after the pump stops and eventually exceeds the 12-inch probe reading, you have drainage below the root zone. That irrigation ran too long.
Using FarmHQ's Soil Moisture Charts to Set Automation Thresholds
FarmHQ's dashboard shows soil moisture readings as a time-series chart with the option to overlay irrigation run events. The visual pattern makes it straightforward to identify your current high-water mark (what VWC you reach right after irrigation) and your current low-water mark (what VWC triggers your next irrigation).
From that baseline, you can set upper and lower threshold alerts that trigger SMS notifications — or, combined with a remote pump schedule, trigger automated pump starts and stops. The schedule automation works off the threshold logic: if VWC at probe X drops below Y%, start the pump; if VWC at probe X exceeds Z%, stop the pump. For that to work reliably, the probe placement needs to be correct, and the target range needs to be calibrated to your crop and soil. The technology is straightforward once you have the agronomic baseline right.
Questions about probe placement or how to interpret your specific data pattern? Email [email protected] with your crop type, soil description, and a screenshot of your chart — we can usually identify placement or calibration issues within one reply.